Facebook authentication in Wise Chat Pro
Wise Chat Pro users can use their Facebook accounts to log into the chat. Thus there is no need to create any accounts in your website, but a regular Facebook account is sufficient to get authenticated.
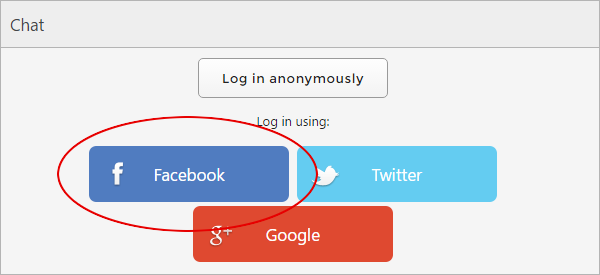
The process is simple: user clicks on the blue Facebook login button and then is redirected to Facebook site where he/she logs in normally. Together with the authentication a permission to use Facebook account for authentication purposes is given to Wise Chat Pro instance. After this user returns to Wise Chat Pro page and immediately becomes authenticated.
When user logs in via Facebook the following data is transferred to Wise Chat Pro:
- user name
- user ID
- avatar image URL
- authentication token
Before you configure Facebook authentication
- Disable Anonymous Users
It is crucial.
How to set Facebook authentication
To enable Facebook authentication in Wise Chat Pro you will need to get Application ID and Application Secret first. In order to get these two values you have to:
1. Log in to Facebook using your regular account: https://facebook.com/
2. Go to Facebook for Developers site: https://developers.facebook.com/
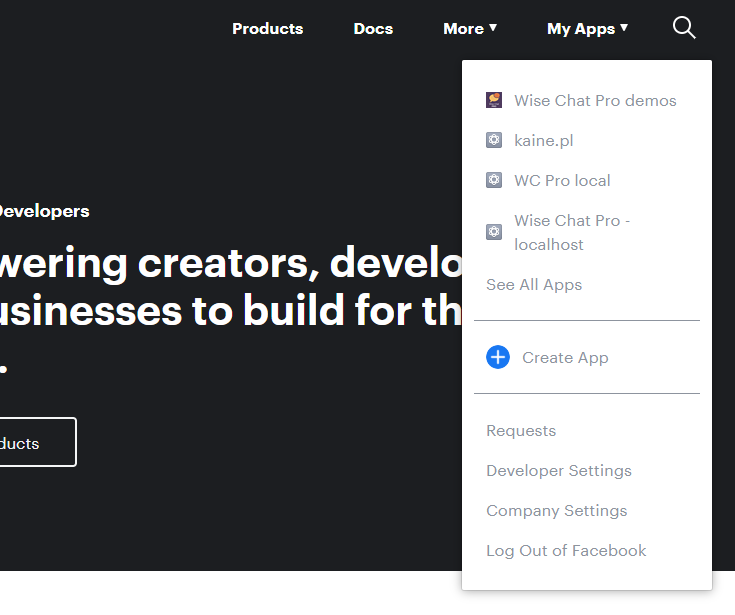
3. At the upper right corner click on My Apps button and then select Create App option.
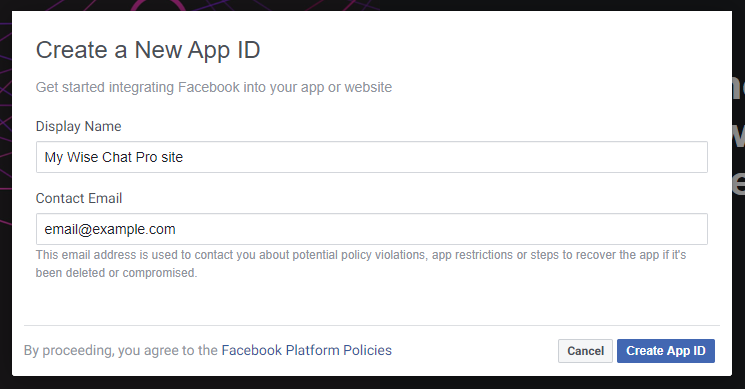
4. The following form will show up:
Please fill all fields and click Create App ID button.
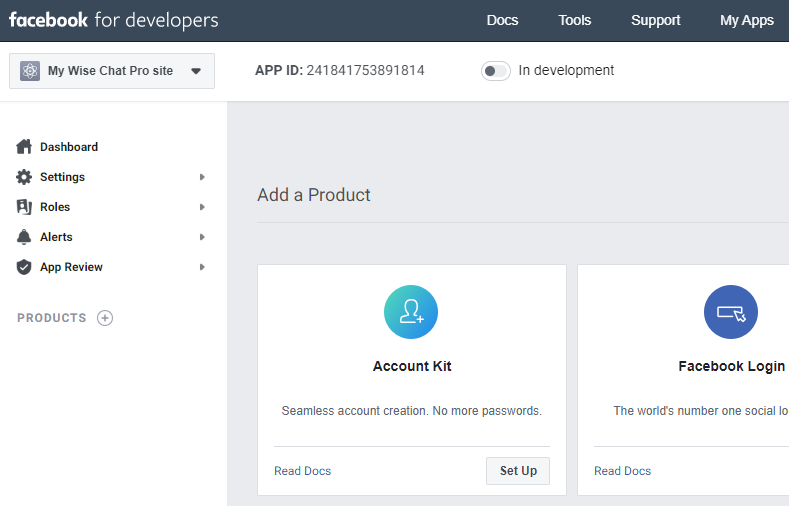
5. After the form is saved a new Facebook application will be created.
6. Click on Settings / Basic (the left menu) and you will see the form:

You can find your App ID and App Secret values in the first row of the table. Click on Show button in order to display App Secret. It is protected by your Facebook password. Please copy these two values for further usage on Wise Chat Pro settings page.
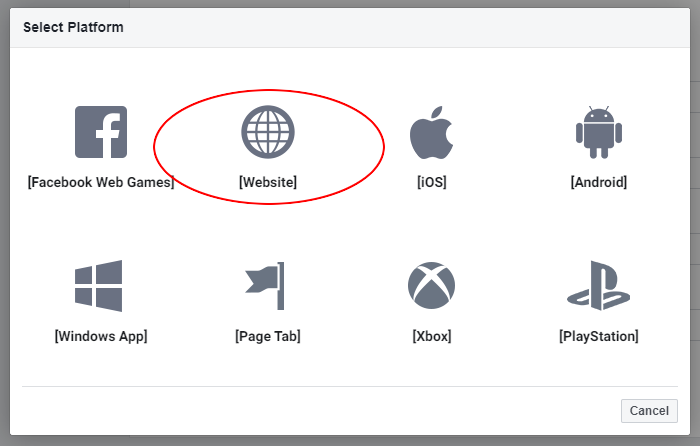
7. Scroll the page down and click + Add Platform button and select Website option.
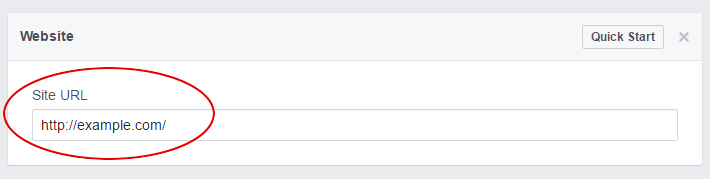
Put the correct URL of your website in the Site URL field and click Save Changes at the bottom of the window.
8. Put your domain name into App Domains field, fill Privacy Policy URL field and click Save Changes button at the bottom of the window. You can insert multiple domains in that field.
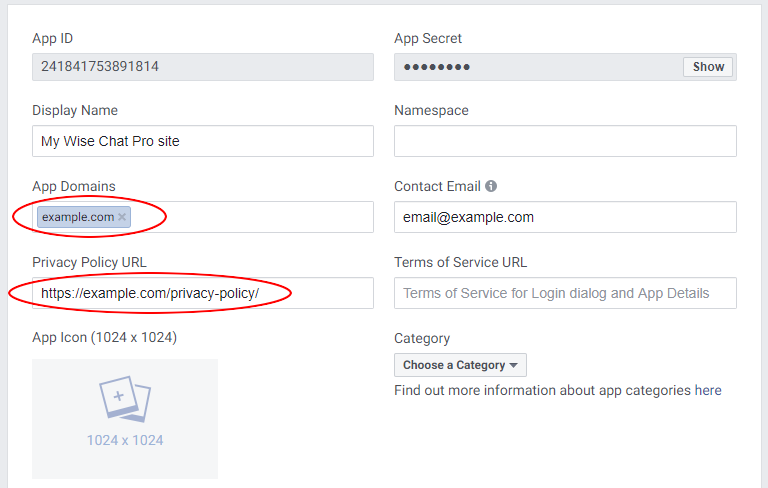
It is crucial to put the correct domain name of the site where you have installed Wise Chat Pro. Otherwise Facebook authentication will not work.
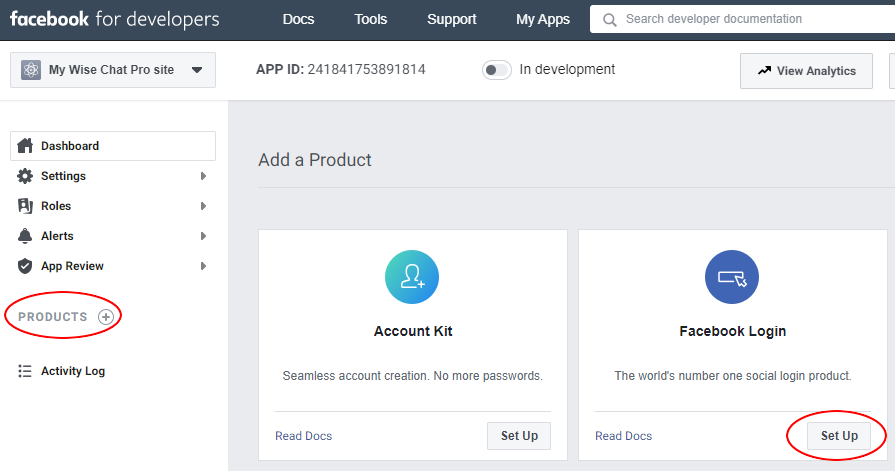
9. Click Products + and then Set Up in Facebook Login rectangle:
10. Go to Facebook Login / Settings (the left menu) page and add Valid OAuth Redirect URIs using the template:
https://yourdomain/yourchatpage?wcExternalLogin=fb
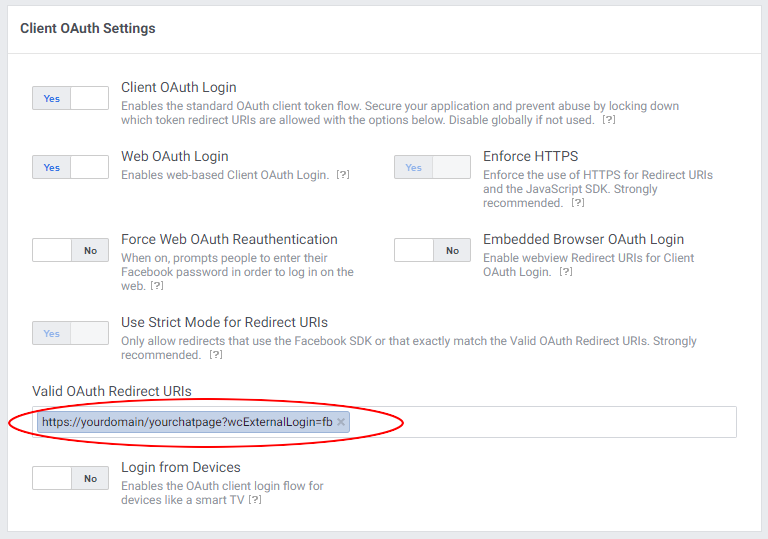
Then click Save Changes button.
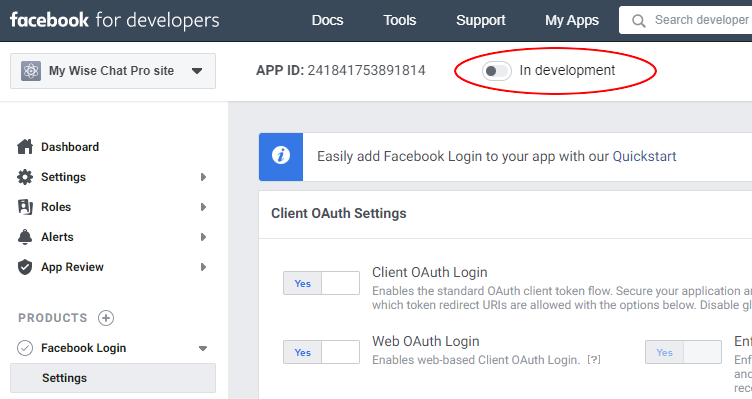
11. Click In development to make the app live:
12. Log in to your WordPress website. Go to Settings / Wise Chat Pro Settings page and click Authentication tab. Enable External method of authentication and then scroll down to see the following form:
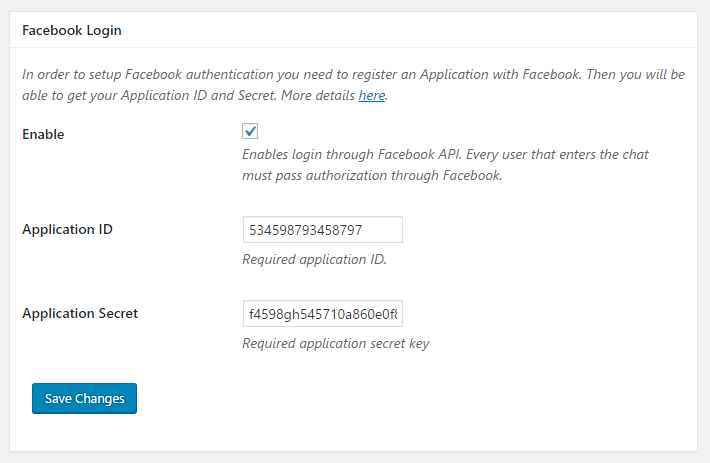
Fill Application ID and Application Secret fields with values that you have copied in the 6th step of this tutorial. After you save the form the configuration of Facebook authentication is complete.